Services#
Services allow you to run a service, e.g. a database, Redis instance or Tensorboard, as part of your pipeline. To ease development, services have a lifetime that spans across the entire session. Services can be configured to persist to disk and to be reachable from your browser.
Warning
🚨 Since the services lifetime span the interactive session, every time it stops all the state of the services is deleted. If you need to store persistent data, use an external database.
Ready to go service templates#
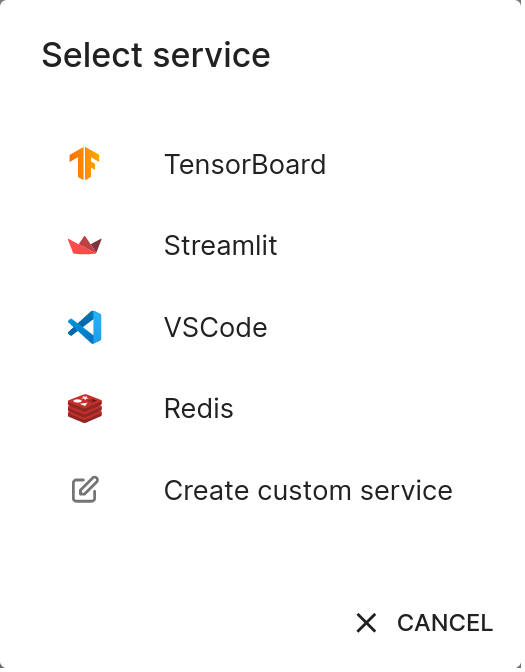
For ease of use, we provide some commonly used services as templates:
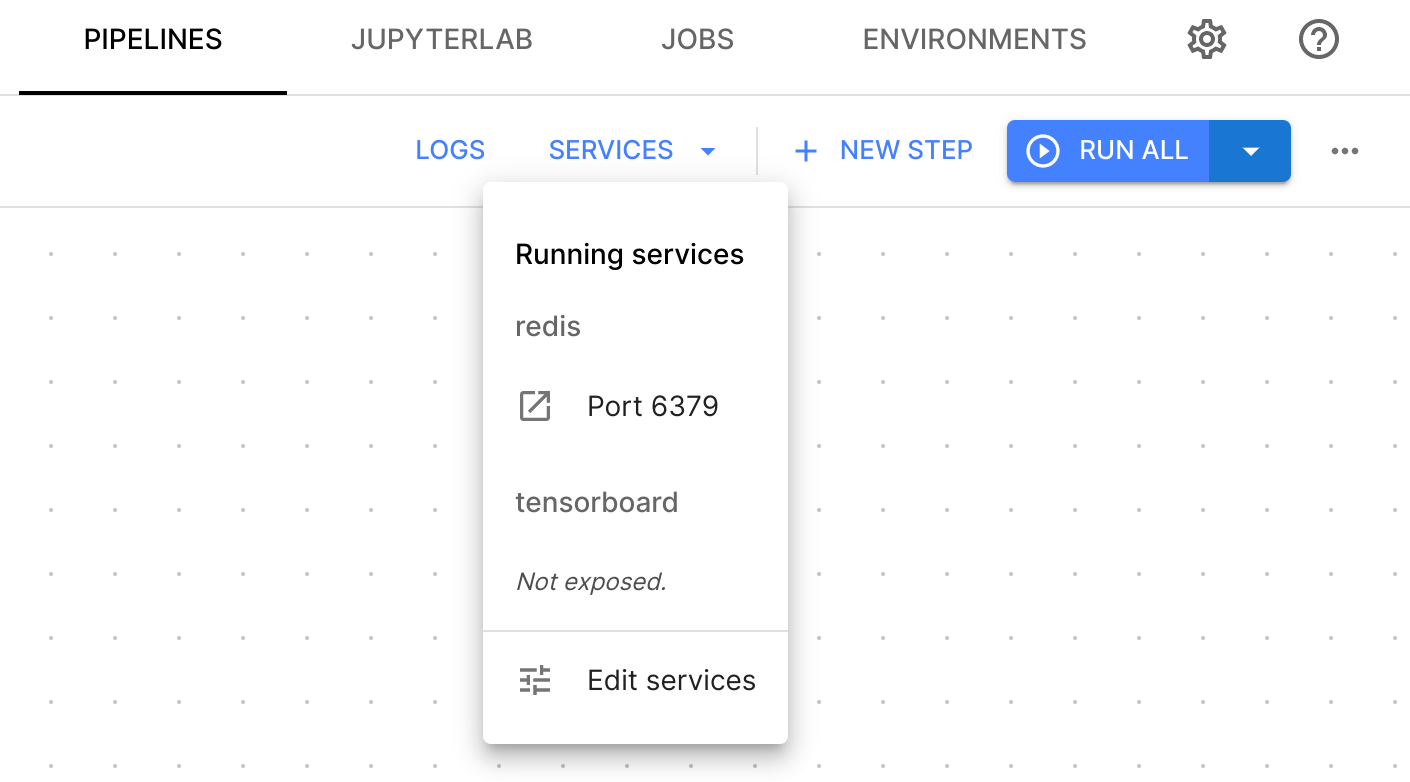
Tensorboard, Streamlit and VSCode are set up to be reachable from your browser, the link will be
available both in the pipeline editor under services and in the service configuration settings.
Redis will only be reachable from within Orchest, i.e. from pipeline steps, notebooks
and other services.
Creating a service in Orchest#
If none of the service templates work for you, you can create your own services.
After going to pipeline settings > services > add service, you will
have the option to create a custom service, where you can pin down your specs.
Required fields#
- name
The name of the server.
- image
The image to use for the service.
Non required fields#
- command
Service start command, e.g. what process the service will run.
- args
Arguments to pass to the command. For example, if the
commandis equal tobash,argscould be-c "echo hello". This would be equivalent tobash -c "echo hello".- environment variables
Key-value pairs of environment variables. While project and pipeline environment variables are considered as
secrets, services environment variables aren’t and will be persisted in the pipeline definition file.- inherited environment variables
A list of environment variable names that will be inherited from the project and pipeline environment variables, and from job environment variables when run in a job. These variables take priority over the service environment variables in case of name collisions.
- scope
Specifies whether the service should be running in interactive mode, jobs, or both.
- project directory mount
To bind a service file system path to the directory of the project. This will allow the service to read or write to the project directory. See the VS-Code template for an example.
- data directory mount
To bind a service file system path to the Orchest
/datadirectory.- ports
The ports that the service will be listening on when it comes to external connectivity. You don’t have to add any port if you are only interested in a service being reachable by Notebooks and pipeline steps, which we refer to as internal connectivity. A service that has defined ports will be reachable from outside of Orchest through a special URL, on all ports. Currently, only the
httpprotocol is supported. The URL(s) through which you can connect to an externally reachable service is shown in the service settings and the pipeline editor, through theSERVICESbutton.- preserve base path
Some applications use relative paths when it comes to handling URLS, e.g. for web page assets such as images, javascript code, and CSS. Others will expect the base path to be preserved when being proxied. The need for toggling this is based on the specific application at hand, and it’s only of interest for external connectivity.
Tip
👉 Most services that run some sort of server are already set to bind to the required interfaces
to expose said server. This might not be always the case and so you have to explicitly set it
while changing the command. The way bindings are set is application dependant, for example,
Tensorboard provides the flag --bind_all to bind on all interfaces.
Connectivity#
Connection details for configured services can be obtained using the
orchest.services.get_service() function. For example, after adding Redis as service,
you can use the following snippets of code to verify connectivity, assuming redis-py has been
installed in the environment used by the step (see the environments section):
import orchest
import redis

redis_host = orchest.get_service("redis")["internal_hostname"]
redis_client = redis.Redis(host=redis_host, port=6379, db=0)
redis_client.set("hello", "there")
redis_client.get("hello")
Permissions of files written by a service#
If you make use of the project or data directory mounts, you need make sure that data is written
with the correct permissions. This can be done by changing the umask of the container process.
Let’s take, for example, the Tensorboard template. Normally, the command would look like
tensorboard --logdir /data --bind_all but this would cause issues with file permissions on the
host. In the Tensorboard template we solve this as follows:
setting the command as
bashsetting the service args as
-c 'umask 002 && tensorboard --logdir /data --bind_all'
Orchest environments as services#
It might be the case that a predefined image from DockerHub does not cover your needs. For example, you might need to install an additional package or set some configuration files. That is why we allow a service to be defined by an Orchest environment. This way you can iterate on and customize any service without the burden of interacting with Docker or pushing to an image repository. Everything can be done through the easy interface of Orchest.
See the environments section for details on how to build an environment.
Creating a custom service#
We will explain how to add a custom service by following an example: creating your custom streamlit service.
As was said in the previous section, we will create a new environment containing streamlit, which we
will then configure as a service. So first, create an environment and install
the needed dependencies (in this example I am using orchest/base-kernel-py as the base image) in
the set-up script:
pip install --upgrade protobuf
pip install streamlit
Now we can configure a custom service with hot reloading of a streamlit.py file in our project
directory. Open up the pipeline for which you want to create the service and follow the steps below:
Go to Services > Edit Services > Add service > Streamlit. Next we will change the configuration of the service.
Replace the Image by your custom environment.
Change the Command (optional) in Start behavior to:
-c 'umask 002 && streamlit run /project-dir/streamlit.py'Change Project directory (optional) under Mounts to:
/project-dirAdd a file called
streamlit.pyin your project directory. You can do this through the JupyterLab UI.Restart the session for the changes to your service configuration to take effect.
You should now be able to visit your streamlit dashboard.
Example streamlit.py:
import streamlit as st
st.title("Hello Streamlit")