Environments#
Environments define the conditions in which Pipeline steps execute scripts and kernels. Environments are:
Chosen in the Pipeline step properties panel in the pipeline editor.
Configurable through their set-up script (on the environments page) to install additional packages.
Versioned and belong to a single project.
Choosing a programming language in Orchest#
An environment only uses one programming language to avoid bloating its container image with too many dependencies. Orchest has built in support for environments with the languages:
Python
R
JavaScript
Julia
Each environment supports Bash scripts to invoke any other language indirectly.
For example: Java, Scala, Go or C++.
Building an environment#
Go to the Environments page.
Create a new Environment.
Choose an Environment name.
Choose a base image.
Choose one of the supported languages.
Add installation commands for additional packages in the Environment set-up script. For example:
pip install tensorfloworsudo apt-get install gcc.Press the Build button.

Configuration page for an environment in Orchest.#
Updated environments will automatically be used in the Pipeline editor and interactive pipeline runs.
Warning
🚨 Do not git ignore the content of the .orchest/environments directory. This directory
is needed by the environment build, and the project snapshot taken prior to the build respects
the .gitignore file.
Important environment paths#
Executed code can access important environment paths:
/dataUse this directory to write large artifacts and/or data to. Writing to other locations might result in data loss (since the environments are stateless) or bloat your Project directory (which slows down job).
/project-dirThis directory contains all files from your project and is the working directory when building the environment. This means that you can:
#!/bin/bash
pip install -r requirements.txt
Installing additional packages#
Tip
👉 See video tutorial: installing additional packages.
Example Environment set-up script:
#!/bin/bash

# Get system level dependencies for one of your packages
sudo apt-get install -y default-libmysqlclient-dev

# Install any dependency using mamba or conda
mamba install -y spacy -c conda-forge

# Or, alternatively, install Python dependencies using pip
pip install black
Installing packages with conda is also supported but might take longer (due to known conda issues regarding dependency solving). We recommmend using mamba as a user-friendly and fast drop-in conda replacement. pip, mamba and conda caches are persisted across builds for quicker iterations. This cache can be ignored or removed using the respective flags (e.g. pip install --no-cache) or commands.
Warning
🚨 Do not install packages by running !pip install <package-name> inside your Jupyter Notebook. This causes the package to be installed every time you run the Pipeline step. It is not saved in the environment as containers are stateless!
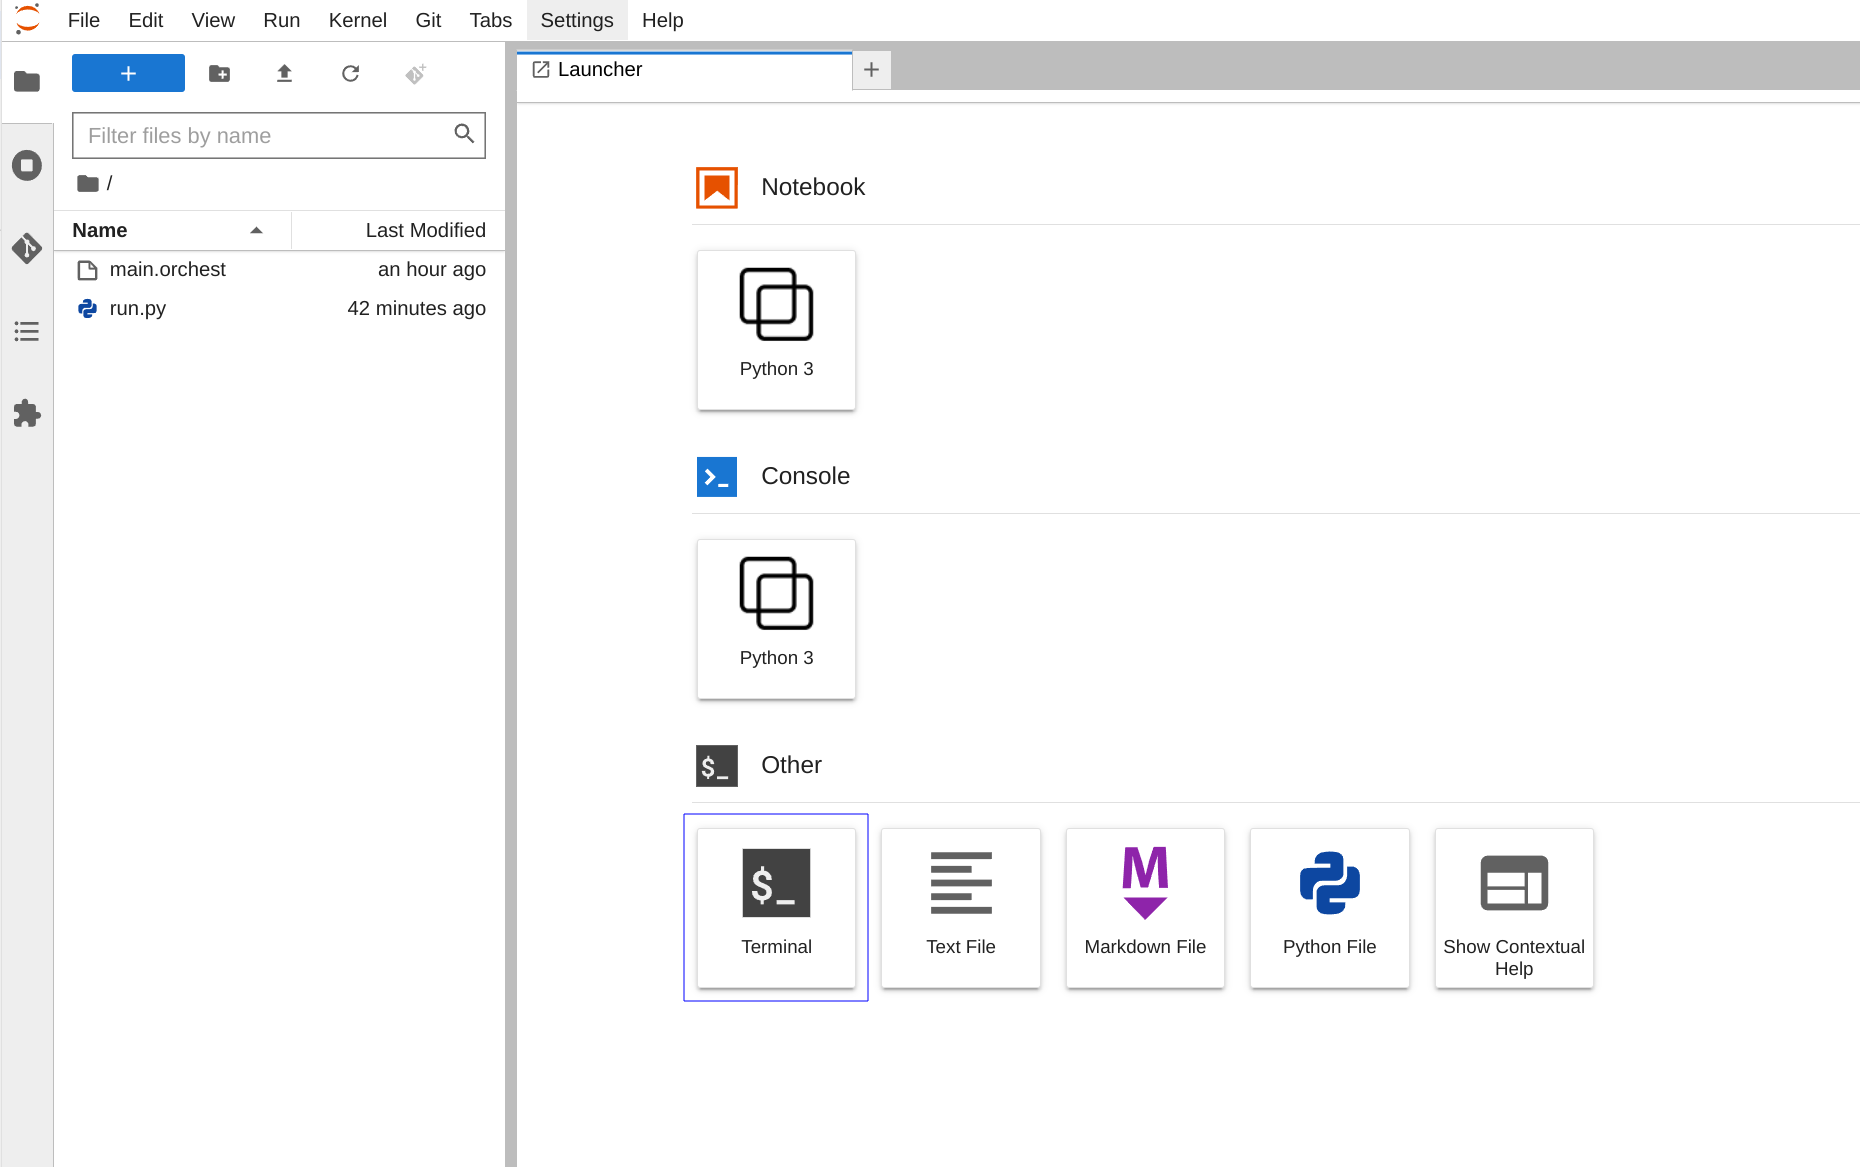
Environment shells#
JupyterLab has integrated support for shell sessions using a terminal emulator. To run your scripts and CLI commands while developing your data Pipeline you can make use of shells that are based on the Environments you have in your Project. The Environment container image is used such that you have access to all installed programs/dependencies.
All you need to do is open JupyterLab and click on Terminal:
Warning
If you make any changes to your Environment, you’ll need to restart your Environment shell to see the changes. You can restart your Environment shell by exiting out of it by pressing ‘Ctrl + D’ or typing ‘exit’.
Custom environment images#
Fully custom environment images are not recommended. This is because environments require a particular image structure to cater for Jupyter Docker stacks dependencies, Pipeline runs and hosting active Jupyter kernels. Instead, use our default base images and customize them via the set-up script.
Using a different Python version#
To use a different Python version:
Create the new conda environment in your setup script with the desired Python version.
Store the relevant environment variables in
/home/jovyan/.orchestrcwhich will be sourced on startup.
For example, configuring an environment with Python 3.10 using mamba:
#!/bin/bash
# Install Python 3.10 and get minimum set of dependencies
mamba create -y -n py310 python=3.10 future
mamba install -y -n py310 ipykernel jupyter_client ipython_genutils pycryptodomex future "pyarrow<8.0.0"
mamba run -n py310 pip install orchest

# Jupyter environment variable that specifies
# a path to search for kernels data files
# See https://jupyter-core.readthedocs.io/en/latest/paths.html
echo "export JUPYTER_PATH=/opt/conda/envs/py310/share/jupyter" >> /home/jovyan/.orchestrc

# Orchest related environment variable that can be set to specify
# the conda environment to use to start Jupyter kernels
echo "export CONDA_ENV=py310" >> /home/jovyan/.orchestrc